
Things I Wish I Knew Before Playing Kena: Bridge of Spirits
We've all been there. We start a game and make a buttload of mistakes that in the end we look back and either regret, or feel plain out silly for. This may be not understanding how to fight very early in the game or something as silly as not realizing there's a dedicated photo mode on Kena before you are locked out of the tutorial area and can no longer take pictures of it.
No? Is that last one just me?
Here are the top things I wish I'd known before delving too deep into my playthrough.
1. There is a dedicated photo mode for Kena: Bridge of Spirits.
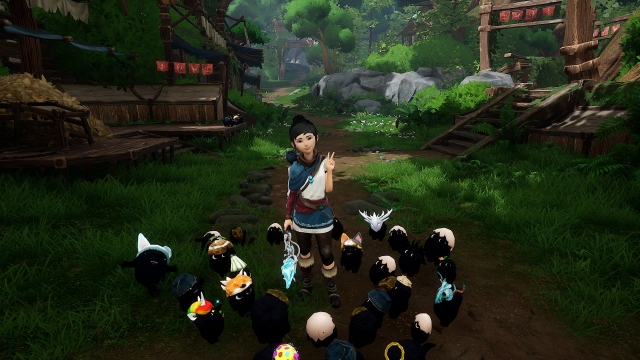
What? You thought I was joking about my stupidity?
Gawking at every turn of the corner, with every small detail that shimmered in the distance. Much like an infant in candy land, I wandered about the tutorial area of Kena: Bridge of Spirits just staring at things and trying to glitch through my own head so that I could take pictures.
Now, I'm not saying this is a common thing, I merely blame myself, really. I never played with photo modes in games prior to Kena: Bridge of Spirits and I admit that it was surely a mistake. Now this may be a small one, but if you're big on taking pictures and documenting your journey, you will want to know that there is one! I kid you not, I have 370 pictures of the game on my drive and I don't know what to do with myself. I can't bring myself to deleting them but I can't assure that my Facebook friends will be very appreciative of me spamming them with it either.
It's "P". For photo. As you'd expect.
God I'm hopeless.
2. Do not play your first playthrough on Expert Spirit Guide
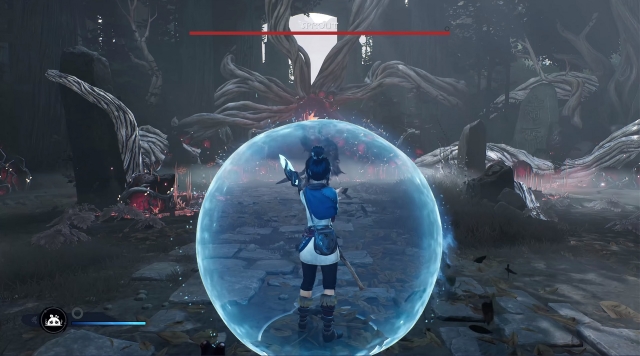
My pompous ass got smacked.
Now, if you're anything like me, you've run past dozens of games on the hardest difficulty.
I don't know what it is about the hardest difficulty that is so alluring, but when I first launched Kena: Bridge of Spirits, I saw "Expert Spirit Guide" and I really jumped at the opportunity of calling myself an expert before I knew what a "Spirit Guide" even was.
This was, admittedly, my first mistake. Now, don't get me wrong, this is mostly built from personal opinion, of course, but you shouldn't play a game as relaxing and beautiful as Kena: Bridge of Spirits on the hardest mode on your first playthrough. For one, there is no achievement rewarding you for this (There is one for Master Spirit Guide, though.) but also because it feels as if the difficulty just isn't right for this type of game.
This is not to say you shouldn't ever play on Expert Spirit Guide or Master Spirit Guide for the sake of either saying you did or completion sake. Just, for the most enjoyment, stick to the nice exploration style Kena: Bridge of Spirits truly excels at.
3. When exploring, look up.
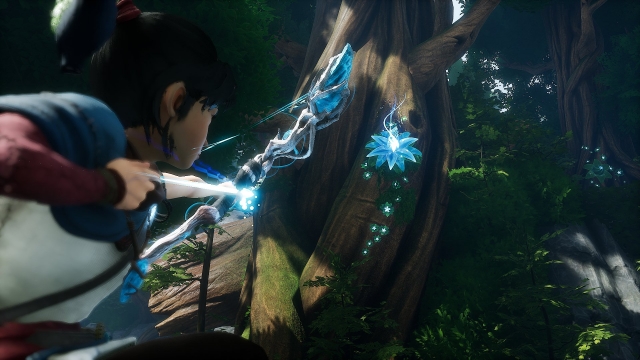
Guess how long it took me to find that one.
In Kena: Bridge of Spirits there are a ton of collectibles. And we've all been there, you have almost every collectible but that one little rascal and you're sitting on your butt, scratching your head wondering where on earth it could be.
For me, it was looking up. Always. I don't know why I didn't learn my lesson the first time it happened to me, let alone the second. But every time I was missing one collectible, all I needed to do was enter an area where I hadn't received a lot of collectibles and look up to find a new path.
4. Have fun with hats

Don't ask me why I have 6 Pot hats.
After finally beating your tutorial boss, be it you ignored my advice and got beat by him for at least five deaths like me or you did it on easier difficulties, you arrive at the beautiful Village Center, and with it your first hat cart.
I was ecstatic to find this cart and buy the hats I had but deep within my soul, anxiety brewed into existence. One that, I'm sure most of us have felt with any game that has currency that can be spent on several things.
"Will I have enough for all the hats I might want?"
I'm here to soothe that irking voice in the back of your neck: Yes. There is. At the time of finishing my game, after smacking around things to get as many blue essence in fear of not having enough for all of my hats, I actually had too much.
As you can see in the above picture, I had a spare of 2,374 and that was after buying out a couple of the most expensive hats, and also having at least one hat for each of my 100 Rot.
5. Jump and use the bow and arrow to makeshift Focus skill.

Don't ask me if Kena survived that fall.
Early on, after you've acquired your bow staff (Get it? Bo-staff?) you will have the desire to check out the upgrades for it and one of the first ones will be the "Focus" trait, which allows you to press F (Or the right joystick for you control folk) to slow time down and aim.
However, there is a makeshift way that you can acquire focus by jumping and aiming, slowing time down similarly to the Focus ability. Pretty nifty for some fights with exact attack points but you don't want to spend the Karma to get that skill.
You can pair up both for two free slow motion shots, although jumping and aiming doesn't really have a cooldown.
Bonus: You can use slow motion to get past smaller gaps in the world. When time slows, Kena continues advancing at a more rapid-pace than normal, allowing her to cover greater distances. Just... Be careful taking yourself out into unintended terrain. I got out of it, I can't say the same will happen to you.
6. Use your Rot skills more freely.
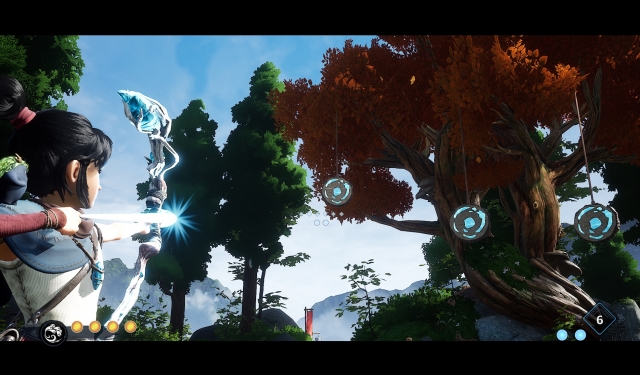
God I love that cinematic pan.
Now, I don't know why I have such an aggressive fear of using my skills at any given time, but whenever they give me a skill I will choose that it will be my absolute last resort and even then I will question if I should use it. And this, of course, happened to me with the skill Rot Hammer & Rot Infused Arrow.
Now, playing in Expert Spirit Guide mode, this means that enemies smacked me around like a ragdoll, and I was just kind of poking them with my stick and hoping it would do significant damage. This specifically applies because although they work a lot for healing (And you should still choose when it’s better to heal than enhance an attack) the damage caused by Rot Hammer & Rot Infused Arrow should not be ignored in the game. They are specifically helpful for some tricky Challenge Chests, like killing X enemies in Y amount of seconds.
You get enough Rot Courage (specially when hitting weak spots) that using your skills shouldn't be too much spending; specifically in lower difficulties where you gather more. And I'll be damned if it isn't beautiful to have that camera pan when you're aiming at someone with murderous intent.
7. Advance story fast at first, explore later.
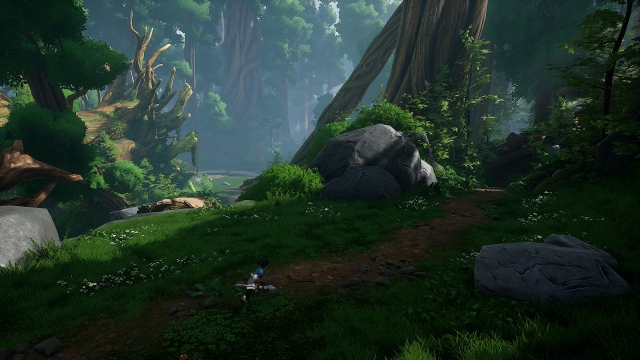
That tree really makes you feel small, huh?
Kena: Bridge of Spirits is split into essentially three acts. The first one serves as more of a tutorial and felt like the longest of the three.
The act starts the moment you leave the village on your first journey. My recommendation is to move forward until you get your first upgrade to your weapon and then explore. This applies only to the first act.
The reasoning for this is, near the middle of the first act you will get a very essential tool, which is your bow staff. This will work as a hook shot, a way to shoot objectives up in the trees that can give you anything from fruit for feeding your Rot which awards Karma, to new Rot or blue essence for Rot hats. This will in turn enrich your exploration, because when I was first playing, I advanced and then didn't know where I had or hadn't been after acquiring the bow, making me backtrack a lot just for the sake of 100%.
And that's all of the tips I have for Kena: Bridge of Spirits! Do you agree? Disagree? Is there something I missed that you feel should have been an essential tip? Please let me know in the comments below! I'd love to hear what else I should be careful with in my imminent next playthrough of Kena: Bridge of Spirits.


COMMENTS